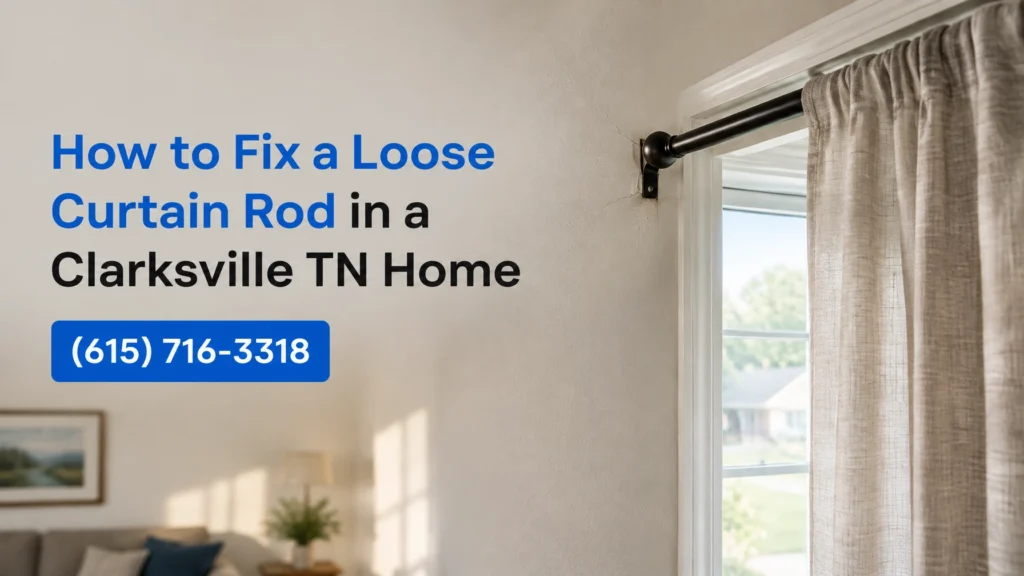
A loose curtain rod feels like a small problem, but it can leave a ragged hole in the wall if you keep pulling on it. The fix depends on what failed, the bracket, the screw, the drywall anchor, or the wall itself.
This guide covers safe checks for a loose curtain rod in Clarksville, Montgomery County, and nearby areas. It also explains when a simple adjustment is enough and when it makes more sense to get matched with a vetted local pro.
1. Start by checking the bracket and wall
Take the curtains off before doing anything else. This removes the weight and lets you see whether the bracket is loose, bent, or pulling away from the wall.
Look closely at the mounting points. Watch for these signs.
- A screw head that turns without tightening
- A bracket that rocks when touched
- An enlarged or crumbly drywall hole
- A small hairline crack spreading from the screw
- A plastic anchor that has pulled out with the screw
- A rod that bows in the middle
Do not just tighten a screw into damaged drywall. It may feel firm for a moment, then pull out again under the weight of the curtains.
Use a stable step stool and avoid overreaching. If the bracket is close to an outlet, switch, plumbing fixture, or visible pipe, do not drill randomly into the wall. A short inspection can prevent a bigger repair.
A loose rod near Fort Campbell may come from years of opening and closing the curtains. In an older Clarksville home, normal movement and repeated weight can slowly widen an anchor hole. The wall may look fine until the bracket finally starts to sag.
2. Remove the rod and inspect the mounting points
The next step is finding out what the bracket is attached to. Once the rod and curtains are down, remove the bracket screws carefully and inspect the holes.
If the screw is loose but the hole is clean, the bracket may only need a fresh screw or a slightly longer screw. If the drywall around the hole feels soft or the opening has become oval, the old anchor has likely lost its grip.
Look at the curtain rod itself, too. A long rod with heavy blackout curtains places more pressure on the outside brackets. A center support may be needed even if both side brackets are secure.

A homeowner in Sango noticed a curtain rod leaning toward one side above a living room window. The bracket had not broken, but the drywall hole had widened enough that the anchor could no longer hold. Moving the bracket slightly and using a stronger mounting method solved the actual problem instead of hiding it.
If the wall has only a small stripped hole in solid wood trim, a new pilot hole may be enough. Drywall needs a different fix.
3. Mount the brackets into studs when possible
A wall stud is the strongest place to attach a curtain rod bracket. This is especially helpful for wide windows, thick curtains, and rods that extend several inches beyond the window frame.
Check for a stud near each bracket location. Studs are often spaced about 16 or 24 inches apart, but home construction varies. Shift the bracket a few inches if needed so the screws line up with solid wood behind the drywall.
Mark the new holes and use screws long enough to reach into the stud. Drill a small pilot hole first so the screw goes in cleanly and the bracket does not twist.
Do not force the original bracket location if it misses the stud. A small patched hole is easier to live with than another loose rod. This approach also works well during a rental turnover in St. Bethlehem, where a simple hardware repair can help a room feel ready without replacing the whole window treatment.
Keep the bracket level with the other side. A rod can look loose when the real issue is that one bracket sits lower than the other.
4. Use the right drywall anchor
If there is no stud where the bracket needs to go, use an anchor rated for the combined weight of the rod and curtains. Do not reuse a damaged anchor or push a larger screw into the same crumbling hole.
For light curtains, a quality threaded drywall anchor may be enough if the drywall is still solid. For heavier curtains or a wide rod, a toggle style anchor usually offers better support because it spreads the load behind the drywall.
Follow the anchor instructions for the hole size. The bracket must sit flat against the wall, and the anchor should not spin or pull forward as the screw tightens.
If the old hole is badly torn, move the bracket slightly when possible. Patch the old hole later with joint compound, let it dry, sand it smooth, and touch up the paint. The new mounting point needs firm drywall or another solid surface.

Quick tip, anchors are not all rated the same. Check the package rating and account for the full load, not just the rod by itself. Heavy lined curtains, thermal panels, and blackout curtains can weigh much more than they appear to weigh.
5. Fix rod sag by checking length and weight
A curtain rod can be firmly attached and still sag in the center. The usual causes are a long span, heavy curtains, a thin rod, or no center support.
Measure the rod span and look at how much it bends when the curtains are hanging. If the rod dips noticeably, add a center bracket that matches the existing hardware. Long rods may need more than one support, depending on their length and the curtain weight.

Do not rely on a center bracket that is attached to weak drywall if the curtains are heavy. Mount it into a stud when possible, or use an anchor designed for the load.
A quick hand check can tell you a lot. After reinstalling the rod, gently press down near each bracket. It should feel solid, with no creaking, shifting, or fresh cracking around the screw.
6. Know when to get matched with a pro
A curtain rod is often a reasonable small repair, but it is not worth guessing if the wall is damaged or the mounting location is unclear. Get matched with a pro if the drywall has a large torn area, several anchors have failed, the rod spans a wide window, or the curtains are unusually heavy.
A pro can also help if the window is part of a larger list of repairs. Homeowners in Woodlawn may want several loose fixtures handled at once. Property managers near Fort Campbell may need curtain hardware checked during a fast rental turnover. Realtors in Clarksville can also include window hardware in a broader fall curb appeal repair list.
The cost usually depends on the number of brackets, the condition of the drywall, the type of anchors, whether patching and paint touch up are needed, and whether the rod or center support needs to be replaced. A simple tightening is different from repairing damaged drywall and remounting a heavy rod.
The Fix It Quick Network is a referral network, not a repair crew. We can match you with a vetted local pro, and the pros in our network are licensed and insured.
If you'd like help, call or text (615) 716-3318 or request a free match through the contact page. You can describe the rod length, curtain weight, and wall damage, then take the next step that feels right for your home.
7. Frequently asked questions
Can I just tighten the loose curtain rod screws?
Sometimes. If the screw is loose and the drywall or wood behind it is still solid, tightening or replacing the screw may solve the problem. If the hole is enlarged or crumbly, use a new mounting point or a stronger anchor.
Should curtain rods be mounted into studs?
Stud mounting is the strongest option, especially for long rods and heavy curtains. If the bracket location does not line up with a stud, use a properly rated drywall anchor instead of forcing a screw into weak drywall.
Why does my curtain rod sag in the middle?
The rod may be too long for its thickness, or the curtains may be heavier than the rod can support. A center bracket, a stronger rod, or lighter curtains may solve the sag.
Can I reuse the old drywall anchors?
Do not reuse anchors that pulled out, spin in place, or show damage. Replace them with anchors rated for the combined weight of the rod and curtains.
How do I know if the wall needs more than a small repair?
Large torn holes, spreading cracks, repeated anchor failure, or a bracket that will not stay level all point to a larger repair. A matched local pro can check the wall, choose a better mounting point, and handle the patching if needed.